Read the species before the silhouette
Radiant monsters are not simply a color label for familiar encounters. The official site connects these Aesoland creatures with Radiantite and describes changed capabilities. Use that description to prepare for the kind of pressure you may face, then learn the actual live encounter rather than importing a complete moveset from another Monster Hunter game.
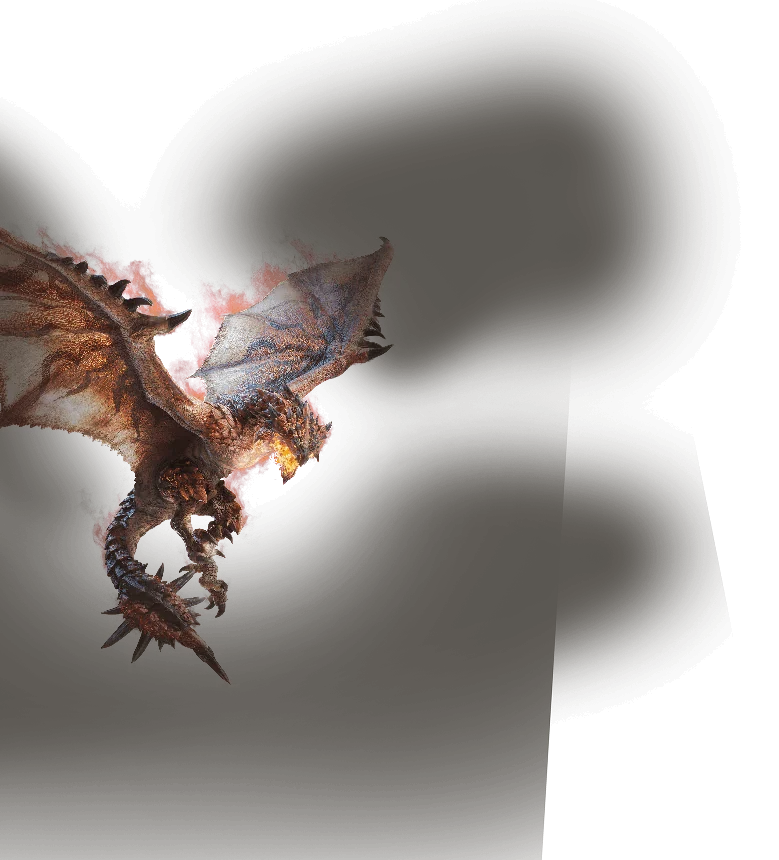
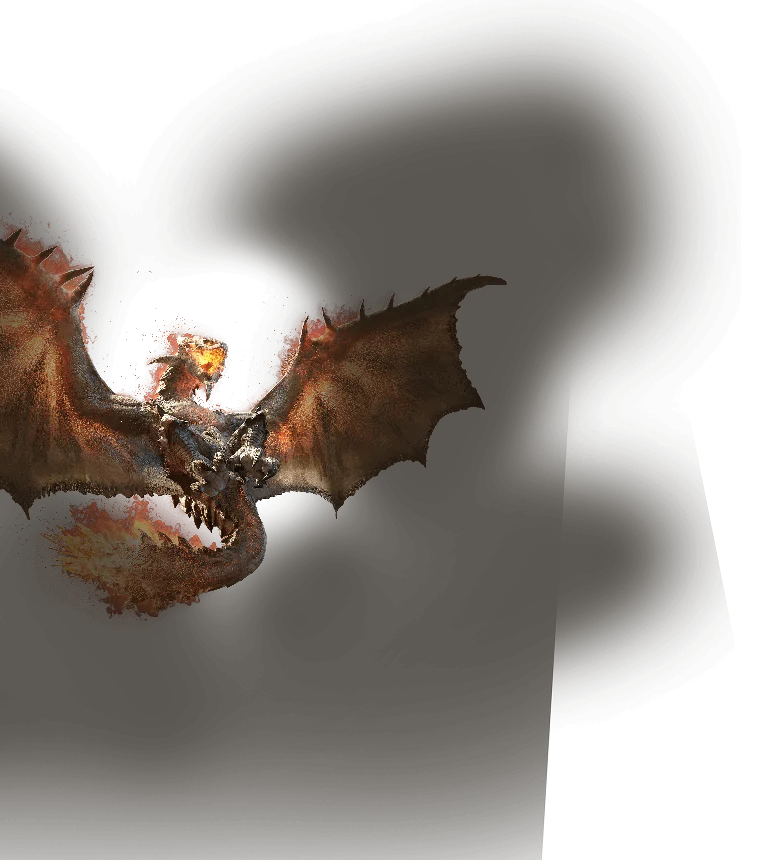
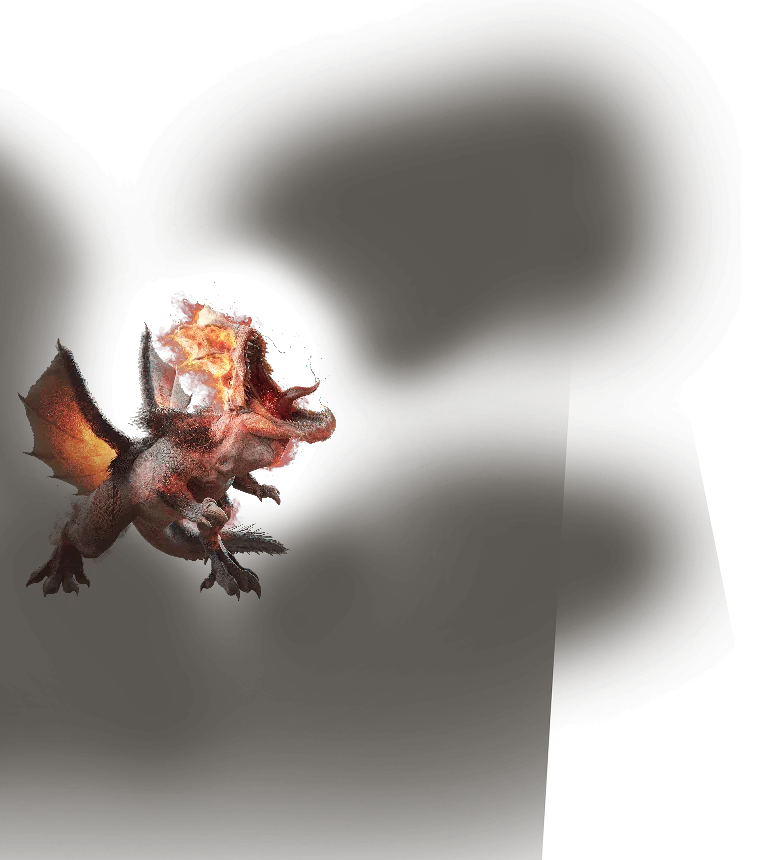
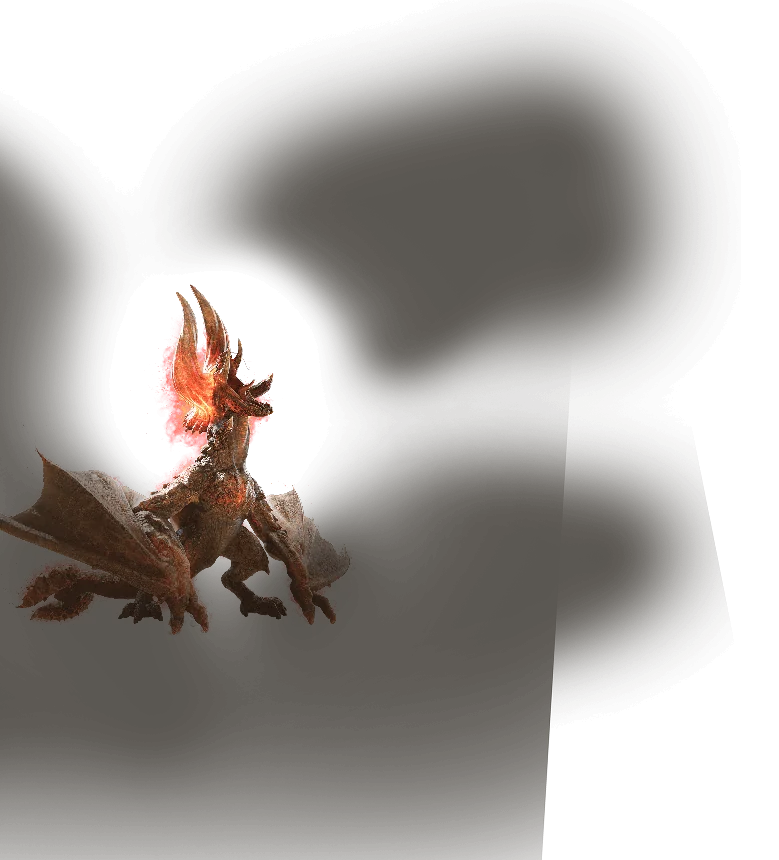
Five Radiant profiles are currently presented on the official site: Rathian, Anjanath, Diablos, Kulu-Ya-Ku, and Rathalos. We provide a separate primer for each. Those profiles verify the names and broad hazard identities. They do not provide a live weakness chart, drop table, break threshold, stagger script, or guaranteed item interaction. This manual therefore concentrates on a practical preparation and observation method.
Pink Rathian is presented as a subspecies, not a Radiant. Base Rathalos also appears separately. Keep those names distinct when choosing a target, reading a material source, or interpreting another player’s clip. A result against a base species does not automatically establish an interaction against the Radiant encounter. The same caution applies to the Elder Dragon Ruger Aidal: the official store mentions it, but an Elder Dragon should not be silently inserted into this five-profile Radiant directory.
What the preparation cards mean
Each card starts from one short official hazard summary and adds an original editorial learning plan, dated October 29, 2026. The plan is not a record of our own successful launch hunt. We have not submitted in-game hunts, measured damage, or checked a client reward screen. Read the boundary before using a recommendation as if it were a tested counter.
| Target | Published hazard emphasis | First planning question |
|---|---|---|
| Radiant Rathian | Venom and increased mobility | Can you cure safely while preserving an exit? |
| Radiant Anjanath | Stronger flame and excavated projectiles | Can you see and leave the projectile lane? |
| Radiant Diablos | Reinforced horns and underground power | Does the squad have separate escape space? |
| Radiant Kulu-Ya-Ku | Excavated Radiantite weapons | Have you read the current held object before committing? |
| Radiant Rathalos | Extreme flame pressure | Can you recover without chasing every movement? |
These questions are deliberately different. A generic instruction to dodge better gives you little to practice. A target-specific question turns the next attempt into an observation with a useful outcome. You can learn that your cure timing is unsafe or your projectile visibility is poor even before you have a fast clear.
Prepare four things before entering
First, confirm the exact target and current objective. A group that queues for learning can tolerate a different pace from a group farming one material. Decide whether the next attempt is about completing a quest, studying a dangerous sequence, or gathering a verified reward. Do not assume every player shares the same goal just because they accepted the same hunt.
Second, inspect the actual equipment and item descriptions available to your account. Select a main weapon you can use deliberately. Confirm what your recovery actions do, whether a status answer is currently available, and where those actions sit in the control layout. An inventory item you cannot reach under pressure is not a dependable preparation.
Third, assign observable team jobs. Decide who is trying to maintain steady damage, who is investigating a specific utility interaction, and who will call a reset when several players need recovery. A Support or Disruptor class label is not enough to establish those effects. Use Adventurer dossiers to understand the official themes and the client to verify the exact skill.
Fourth, choose a fallback for the uncertain interaction. If a proposed interrupt does not work, how will you leave? If a shield protects only its user, how do the others survive? If the monster moves out of a prepared burst, will the player stop or chase into danger? A fallback prevents an unverified assumption from becoming the entire hunt plan.
Radiant Rathian: protect the recovery window
The official venom emphasis makes status preparation an important question for Radiant Rathian. Before the attempt, inspect the client’s poison cure options and confirm what you can actually bring or access. We use antidote as a general preparation cue, not a promise of one universal item name, recipe, or instant-use interaction across regions and modes.
A status cure can fail strategically even when it removes the status. If you stand in an active attack lane to use it, you can exchange one danger for another. Practice recognizing a window in which the monster has committed elsewhere or the current sequence has ended. The same principle applies to ordinary healing: the useful result is being healthy and positioned to continue, not merely seeing a successful item animation.
Reserve movement for the target’s next reposition. Increased mobility means a safe-looking flank can change quickly. Avoid assuming the first visible miss is the final opportunity to attack. Observe the complete sequence, including the recovery, before adding a longer punish. Do not publish or rely on a tail-safety claim without checking the exact Radiant interaction.
For a first group attempt, agree on status communication. A short statement such as needing a recovery window is more useful than silently trying to maintain damage while health falls. Do not assume a nearby Support automatically sees the problem or has a valid response ready. Your own supplies and movement plan remain part of the preparation.
Radiant Anjanath: keep the ground readable
Radiant Anjanath is described with stronger fire and the ability to excavate Radiantite projectiles. That makes camera position and ground visibility practical priorities. Before focusing on a damage window, make sure you can see the motion that changes the threat. If effects or the monster’s body hide the relevant area, reposition rather than committing through incomplete information.
During a learning attempt, identify the difference between a movement that closes distance and a movement associated with the projectile preparation. We do not give an exact launch animation script here. Your task is to observe which cues reliably precede the pressure in the current encounter, then test a movement response that preserves space for a possible follow-up.
Avoid stacking the squad into one narrow lane simply because the first player found a good angle. Multiple people occupying the same recovery space can turn one incoming attack into several emergencies. Spread with a purpose: preserve useful target access and any verified nearby utility, while giving each player a route to leave the lane.
A ranged weapon can help a learner see more of the encounter, but it does not make fire or projectiles irrelevant. A guarding weapon can provide another way to investigate pressure, but only after the exact interaction is confirmed. Until then, use visibility and movement as the dependable parts of the plan, with speculative guard or interrupt interactions treated as tests.
Radiant Diablos: plan the space you leave
The official Radiant Diablos profile emphasizes horns and underground power. Prepare around space management. Before an ambitious punish, identify where you will move if the target advances or changes position. A wall, awkward terrain, or another player using the same narrow exit can remove the route you were relying on.
In a learning run, spend attention on when the target is actually available. If it has moved underground or out of a reliable attack angle, do not spend resources chasing an unavailable opportunity. Recenter the camera and recover your position. The next clean window can be more valuable than the damage you hoped to land while losing sight of the threat.
Do not assume that a sonic, flash, trap, or guard interaction from another title works here. We have not verified one against the launch Radiant encounter. If a teammate wants to test an item, make that experiment explicit and keep the rest of the squad prepared to move if it fails. A failed test is useful information when it has a fallback; it becomes expensive when everyone commits as if success were guaranteed.
For a four-player group, avoid a vague instruction to stand apart. State the reason: preserve distinct exits and readable sightlines while remaining able to perform any verified support job. The correct spacing can change with terrain and monster position. Reassess after the target relocates instead of defending a position that was useful earlier in the hunt.
Radiant Kulu-Ya-Ku: notice what it is holding
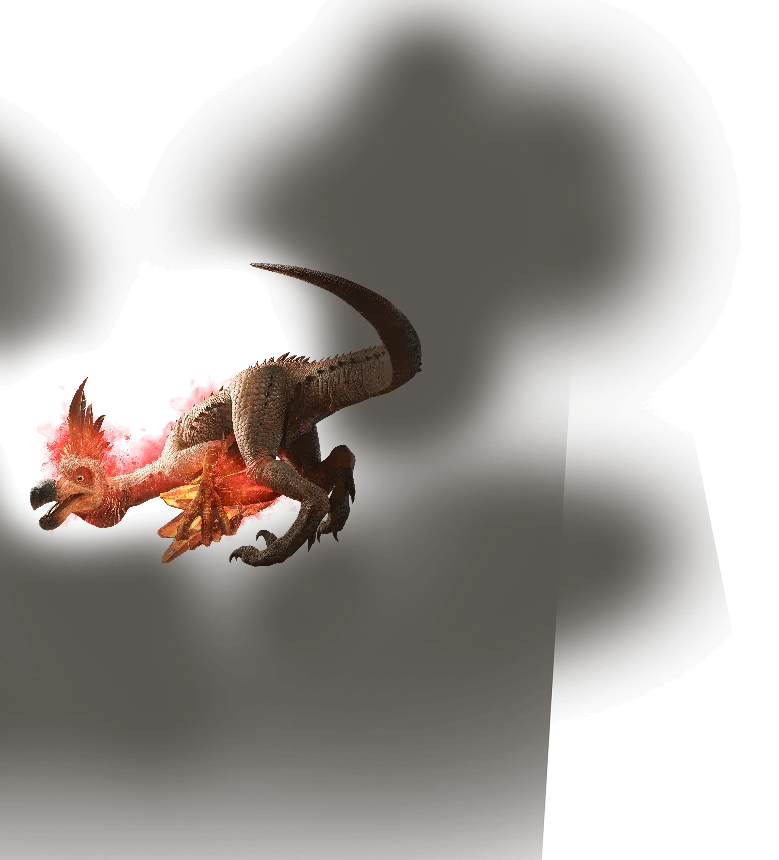
The official Radiant Kulu-Ya-Ku description highlights excavation and the use of Radiantite as weapons. A useful learning objective is to identify the held object or current state before deciding how long to attack. Do not treat every familiar silhouette as the same opening. The object can change what you need to watch even when the monster’s overall body shape remains familiar.
Choose a short observation loop. See the preparation, keep enough distance to read the action, observe how the object is used, and only then investigate a safe punish. This is a method, not a confirmed launch move sequence. If you cannot see the held object because of your camera angle, moving for information is a valid action.
Do not invent a universal disarm, knockdown threshold, or guaranteed object break. A visible interruption on one attempt is not enough to prove an exact trigger. Record the attack, equipment, target state, and version if you want to investigate the interaction seriously. Until you have that context, describe it as an observation rather than a repeatable counter.
This can be a useful target for practicing restraint because the temptation is to dismiss a familiar smaller species as easy. Keep the same standards you use on a larger threat: see the full action, leave a reserve, and choose an opening you can repeat. Difficulty should be established by the actual encounter, not by the target’s reputation in another game.
Radiant Rathalos: recover without giving up the view
Radiant Rathalos is presented as a severe fire threat. Begin by maintaining a sightline that lets you see the next action while you recover or move. Chasing every displacement can put you in a poor position just as the target begins another sequence. A deliberate pause to regain visibility can be the best way to preserve the next damage opportunity.
Do not confuse an aerial appearance with a verified item vulnerability. We do not claim a guaranteed flash response, fixed grounded window, or exact aerial route. If the current client provides a tool that appears relevant, read it and test it with a movement fallback. The practical plan should still work when the interaction is unavailable or does not behave as expected.
For melee players, avoid turning every attempt at target access into an overcommitted chase. Keep a short punish ready for an opening you can reach safely. For ranged players, keep aiming and repositioning linked: firing from a place that loses the whole monster can trade short-term pressure for a late defensive response.
Group recovery matters. If several players are low, do not assume that a dramatic burst is the fastest route to stability. Reestablish positions, use available recovery at safe times, and resume pressure when the group can see what is happening. An illustrative composition is a starting point for communication, not an assurance that a particular kit can erase the encounter’s hazard.
Interrupts are a testable claim
An interrupt recommendation should identify the actual effect, the move it is intended to stop, the target state, and the timing. A class label is insufficient. So is a clip where the monster stopped for an unclear reason. A stagger, part break, threshold effect, scripted transition, and deliberate interruption can look similar from one player’s camera.
When you want to test an interaction, agree on one hypothesis before the attempt. Keep equipment and target context as consistent as possible. Have the rest of the squad avoid adding simultaneous effects that make the result ambiguous. Observe whether the monster’s intended action was actually canceled and what happened afterward. Do not describe a single favorable outcome as guaranteed.
Record negative results too. A failed interruption may mean the effect does not work, the timing was wrong, the target state changed, or a prerequisite was missing. Without that context, the test remains inconclusive. For ordinary progression, the safe choice is to keep a movement response available rather than repeatedly funding an uncertain interaction with supplies and carts.
Guard and status preparation need boundaries
Guard is a tool to investigate with a specific weapon and current build. We do not publish a launch table of guardable attacks, stamina costs, or required skills. If a first block succeeds, inspect the follow-up before assuming the entire sequence is safe. Orientation and available resource can change the result on the next attempt.
Status preparation follows the same standard. Confirm the current item’s effect and use conditions, then choose a safe time to use it. Do not infer exact resistance values, immunity, or cure timing from a general species description. A materials guide that invents a resistance recipe can waste more time than a primer that honestly tells you to inspect the current equipment screen.
Keep offensive and defensive changes separate during a trial when you can. If you alter armor, weapon, Buddy, and character at the same time, a safer hunt tells you that the full setup improved but not which change mattered. A clear record makes later farming decisions more efficient because you can identify the item that actually solved the repeated failure.
Turn the first attempts into a route
Use three passes when the objective and available resources allow it. In the first, focus on recognizing the dangerous sequence and keeping the camera readable. In the second, add one short punish after that sequence. In the third, repeat the punish while maintaining supplies and group communication. These are learning goals, not requirements to fail or abandon a hunt on purpose.
After a cart or failed attempt, name the earliest controllable mistake. Being hit during recovery can start with an earlier unnecessary trade. Running out of space can start with chasing into a corner. A late dodge can start with a camera angle that hid the tell. Fix the early cause before adding damage or recruiting another character.
Once the hunt is repeatable, define the farming objective. Read the actual reward source and recipe, identify the needed quantity, and stop when that upgrade is funded. We do not provide unverified drop percentages or imply that a named part break guarantees a specific rare material. Use the materials worksheet to keep the farm tied to a real item.
A four-player briefing that fits in a message
State the target, the purpose, one main hazard, one recovery rule, and the job of the flex player. For example, a Rathian learning group might focus on cure timing and preserving an escape while the Fated player practices a safe ranged angle. That is an illustrative learning brief, not a verified optimal composition or a recommendation to stack a specific untested effect.
The hunt planner generates a copyable draft from your chosen Adventurers and target. It checks descriptive class coverage and calls attention to the flex role. It does not read your account, enforce live lobby rules, calculate damage, or determine whether a skill works against a Radiant move. Agree on those practical details with your group in the game.
After the hunt, add one useful result to the brief: a tell the group recognized, an item interaction that remains uncertain, or a position that repeatedly caused trouble. Keeping the note short makes it more likely to guide the next attempt. A field journal should reduce the number of decisions you need to improvise under pressure.
Radiant questions
Is Pink Rathian a Radiant monster?
No. The official site presents Pink Rathian as a subspecies. It is listed separately from the five Radiant profiles covered in this manual.
Where are the elemental weaknesses and drop rates?
They are withheld in this edition because we have not verified live client values or reward tables. Read the current in-game notes and recipe sources before choosing an expensive elemental branch or a long farm.
Which Radiant should I fight first?
Follow the encounters your account actually unlocks and the objective you need. This manual does not invent a universal unlock order. Start with a manageable available target and a clear learning goal.
Does a Disruptor guarantee an interrupt?
No. An interrupt requires a specific effect and a verified interaction with the target’s current action. A class label or an isolated stagger clip does not establish that guarantee.
Are these tested boss scripts?
No. The hazard identities are sourced from official profiles; preparation and observation plans are editorial advice dated October 29, 2026. Exact live moves, timings, and thresholds remain verification work.